Through my beekeeping operation I accumulate dozens of spent frames from which I salvage beeswax.

Until recently I created candles as a means of storage for refined wax, though it reached a point where candle creation exceeded consumption.
I decided to cast the refined wax into blocks for long term storage and began the process of creating molds. I pursued a number of concepts before settling on one which fit my needs; this post is will hopefully save others a fair amount of time as little information is available on the web for fabricating custom beeswax molds.
Guidelines for the project:


1. Print PETG mold for silicone mold
1. Cast silicone in PETG mold
1. Cast wax in silicone mold
My first attempt was a partial success. The silicone material was more flexible than anticipated and thus did not provide enough base or sidewall support.

Iterating the design to address shortcomings is straight forward, though I had another concept which could provide more... flexibility.
Design and printing of both PETG parts progressed without issue as did the casting of the silicone insert.

Beeswax casts well provided the mold is allowed to cool gradually; a slow peel from each of the four sides provides enough release to drop. Finished 1/4 lb bars -

Until recently I created candles as a means of storage for refined wax, though it reached a point where candle creation exceeded consumption.
I decided to cast the refined wax into blocks for long term storage and began the process of creating molds. I pursued a number of concepts before settling on one which fit my needs; this post is will hopefully save others a fair amount of time as little information is available on the web for fabricating custom beeswax molds.
Guidelines for the project:
- Use materials on-hand:
- 3D Printed PLA or PETG
- Silicone Resin
- Must be capable of reliably imprinting fine detail; minor defects are acceptable so long as it fits within the definition of "rustic"
- Technique must be adaptable across a range of sizes: 1/4 Lb to 5 Lbs
- Preheating of molds prior to casting not required
- Mold release agent (silicon spray) not required
PETG Mold
My first attempts were printed PETG molds. Easy to design though I could not consistently imprint fine detail - even with release agent applied liberally.Two-Stage PETG Mold
The two-stage mold adds a second plate which imprints on top of the molten wax after pouring into the primary mold. My approach on the second plate was to incorporate lengthy extensions for the imprint detail - the plate face itself would not come in contact with the molten wax. This was a complete failure as the wax adhered while molten and slowly retracted from the extensions as it cooled, leaving a destroyed surface upon removal.Silicone Mold
Most commercial beeswax molds featuring fine detail are made of silicone - no doubt this would be a viable approach. The process is a bit convoluted as it's designing a mold to create a mold:1. Print PETG mold for silicone mold
1. Cast silicone in PETG mold
1. Cast wax in silicone mold
My first attempt was a partial success. The silicone material was more flexible than anticipated and thus did not provide enough base or sidewall support.
Iterating the design to address shortcomings is straight forward, though I had another concept which could provide more... flexibility.
PETG + Silicone Insert Mold
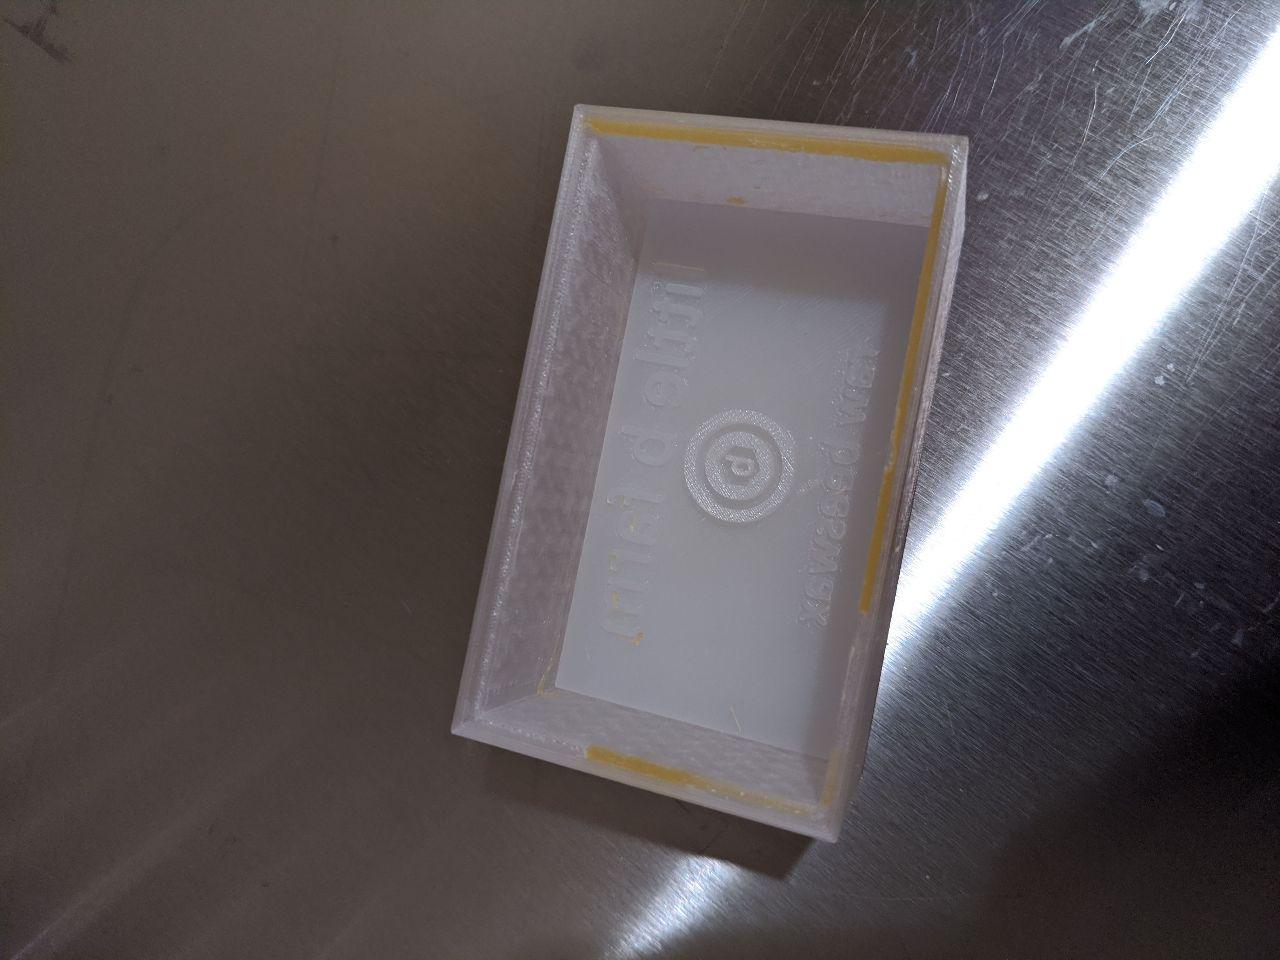
PETG functions well when molding shapes without detail at low cost and quick processing time. Silicone excels at detail with the downside of high material cost and various complications for larger volumes. The hybrid approach of a silicone insert coupled with various PETG molds provides the best of both worlds.Design and printing of both PETG parts progressed without issue as did the casting of the silicone insert.
Beeswax casts well provided the mold is allowed to cool gradually; a slow peel from each of the four sides provides enough release to drop. Finished 1/4 lb bars -